In the digital age, the quest for a personalized computing experience has led many to explore the realm of custom keyboard building. This niche hobby has gained traction for its ability to deliver a truly bespoke typing experience, tailored to the individual’s preferences and needs. Whether you’re delving into the world of custom keyboards for the first time or seeking to refine your craft, this comprehensive guide serves as your blueprint for creating a keyboard that not only meets but exceeds your expectations.
Discovering Your Ideal Keyboard Size
The foundation of your custom keyboard journey begins with selecting the right size. This choice is pivotal, as it influences your comfort, functionality, and overall satisfaction with the end product. Here’s a brief overview of the various keyboard sizes available:
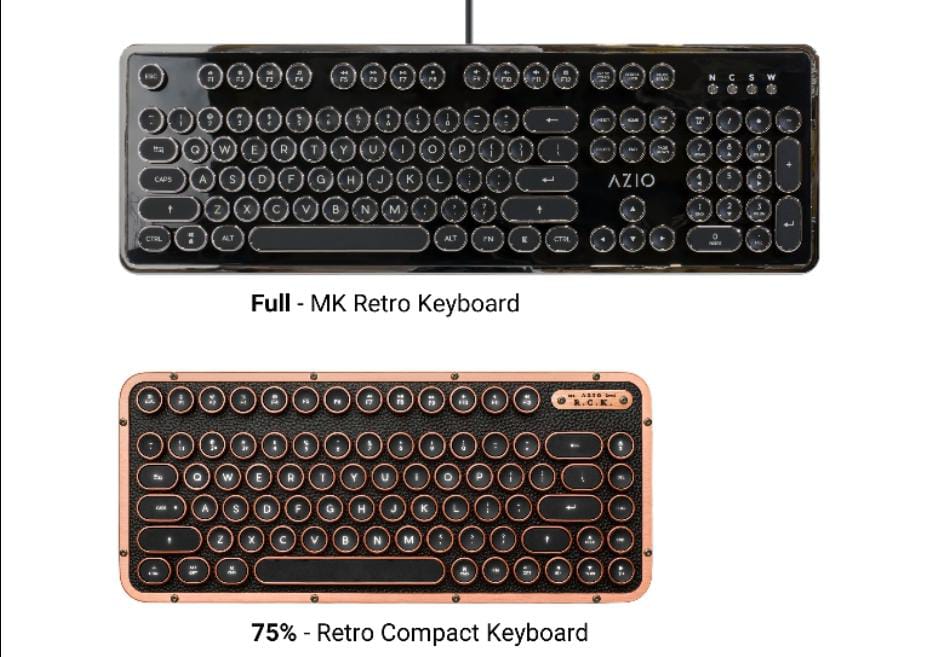
- Full-size Keyboards: The quintessential choice for those requiring a comprehensive set of keys, including a number pad, function keys, and navigation cluster. Ideal for gaming, professional work, and general use.
- Tenkeyless (TKL) Keyboards: A compact alternative that retains essential keys, including the navigation and function keys, offering a balance between functionality and space-saving design.
- 75% Keyboards: These models offer a compact layout with closely packed keys, including arrow and navigation clusters, suitable for users looking for a smaller footprint without sacrificing key functionality.
- 65% Keyboards: Striking a balance between compactness and utility, these keyboards omit the function row but include arrow keys, catering to users prioritizing space and essential functionality.
- 60% Keyboards: Popular in the custom build community, these keyboards focus on the essentials, omitting the function row, arrow keys, and navigation cluster for a minimalist design.
- 40% Keyboards: The most compact option, challenging users to adapt to a devoid layout of numbers and special symbol rows, embodying the essence of minimalism.
Essential Components for Your Custom Keyboard
Embarking on a DIY keyboard project requires a careful selection of components to ensure compatibility and achieve your desired outcome. Key components include:
- Keyboard Case: Your choice of case material, ranging from plastic to wood, significantly impacts the aesthetics and durability of your build.
- Printed Circuit Board (PCB): The heart of your keyboard, facilitating communication between the keys and your computer. Opting for a hot-swappable PCB simplifies switch changes without soldering.
- Plate: While optional, a plate adds rigidity to your build and supports the switches, enhancing the overall typing experience.
- Stabilizers: Crucial for maintaining the stability of larger keys, with screw-in stabilizers recommended for reducing typing noise.
- Switches: The selection of switches, from linear to clicky, defines the tactile response and sound profile of your keyboard.
- Keycaps: The visual and tactile interface of your keyboard, with materials and profiles varying in durability, feel, and aesthetics.
Tool Kit for Assembling Your Keyboard
Armed with the right components, the assembly process requires a set of tools to bring your custom keyboard to life:
- A soldering iron (for non-hot-swappable PCBs)
- A small screwdriver
- A switch puller
- A keycap puller
- Additional tools such as a switch opener, switch lube, a small paintbrush, tweezers, fabric band-aids, and sound-dampening foam may also be necessary depending on your specific build requirements.
Step-by-Step Guide to Building Your DIY Keyboard
The construction of your custom keyboard unfolds through a series of steps designed to ensure a successful and satisfying build process:
- PCB Testing: Begin by verifying the functionality of your PCB to avoid any surprises during the final assembly.
- Stabilizer Installation: Apply fabric band-aids and lubricate the stabilizers before securing them to the PCB, a step that enhances the typing feel and reduces noise.
- Switch Installation: Following any desired modifications, such as lubing, install your switches onto the PCB, noting that soldering may be required for non-hot-swappable PCBs.
- Sound Dampening: Optional sound-dampening foam can be added to minimize echo and improve the acoustics of your keyboard.
- Final Assembly: Carefully assemble all internal components within the case, culminating in the attachment of your chosen keycaps.
Celebrate Your Achievement
Upon completing your custom keyboard build, take a moment to appreciate the effort and creativity invested in this project. Not only have you created a functional piece of technology, but you’ve also embarked on a journey that expands your skills and knowledge in the realm of custom computing peripherals. Share your creation with friends, family, and the wider community, and let it mark the beginning of your journey as a keyboard enthusiast.
Introducing the Cascade Series
For those seeking an entry point into the world of custom keyboards, the Cascade Series offers a versatile foundation. Available in both Slim and Standard models, these keyboards support hot-swappable switches and include sound dampers for an optimized typing experience. With endless possibilities for keycap customization, the Cascade Series enables you to craft a keyboard that perfectly aligns with your preferences and style.
In crafting this guide, we’ve aimed to demystify the process of building a custom keyboard, providing you with the knowledge and tools needed to create a device that’s uniquely yours. Whether you’re a seasoned builder or a curious newcomer, the world of custom keyboards, metal puzzles, and Luke Skywalker Lightsaber
offers a rewarding blend of technical challenge and creative expression.