How to Catch & Evolve Larvesta in Pokemon Scarlet & Violet?

While you can catch many Pokemon in Pokemon Scarlet & Violet, Larvesta is one fascinating Pokemon for you to catch. You can also evolve this one too. Here is everything you need to know about how to catch Larvesta and evolve it into Volcarona in Pokemon Scarlet and Violet.

Where to Find Larvesta in Pokemon Scarlet & Violet?
Get Larvesta

Larvesta is found in the desert region and nowhere else. Hence, if you are looking to catch Larvesta, it’s better to look in Asado, the desert region of Paldea. There is also no specific time for Larvesta to spawn, but we do find him in the nighttime, so try to go to Asado Desert in the nighttime to find him. You can also roam around the desert, and whenever you pass near Larvesta, it will be shown on your mini-map, and you will be able to engage him in a battle.

However, this Pokemon is rare, so it has a lesser spawn rate. So you will have to commit some time if you are looking to catch Larvesta in Pokemon SV. However, you can also increase Larvesta’s spawn rates by creating and eating an Encounter Type: Bug or Encounter Type: Fire sandwich to help with the odds of finding one as soon as possible.

How to Catch Larvesta in Pokemon Scarlet & Violet?

When trying to catch a Larvesta, bring a Flying, Water, or Rock-type Pokémon. Weaken the Pokémon down before trying to capture it for a high rate of success. Larvesta’s will be relatively low-leveled, so be sure to bring a Pokémon that matches its power level before trying to capture it.

How to Evolve Larvesta into Volcarona in Pokemon Scarlet & Violet?
Evolve Larvesta

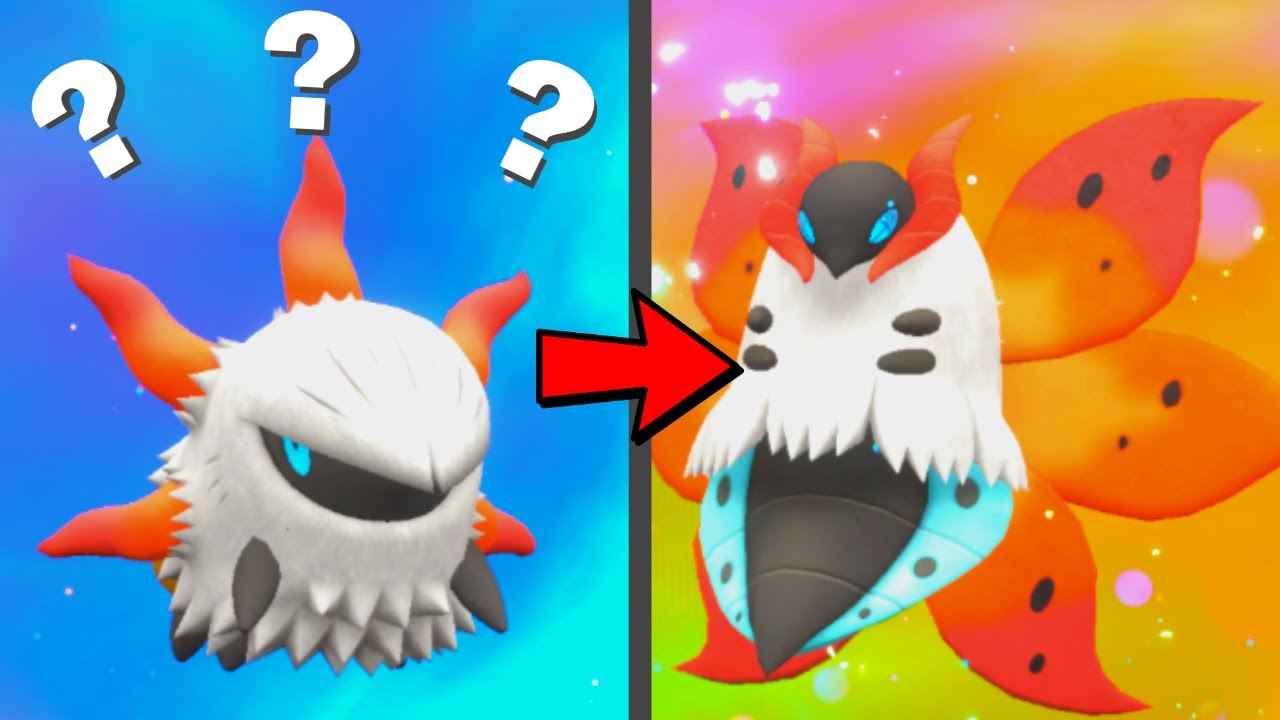
Once you have Larvesta in your collection, boost it to level 59 to evolve it into Volcarona. So make sure you feed Larvesta with enough Exp Candies, Rare Candies, etc.

All Larvesta Level Up Learnset in Pokemon Scarlet & Violet

The below moves are unlocked after leveling up this Pokemon:

• Base: Ember
• Base: String Shot
• 6: Flame Charge
• 12: Struggle Bug
• 18: Flame Wheel
• 24: Bug Bite
• 30: Screech
• 36: Leech Life
• 42: Bug Buzz
• 48: Take Down
• 54: Amnesia
• 60: Double-Edge
• 66: Flare Blitz

That’s everything you need to know about how to find Larvesta and evolve it into Volcarona in Pokemon Scarlet and Violet. Meanwhile, you are here, make sure to check out our other Pokemon SV guides on where to buy Shiny Pokemon Violet.

Best Shooting Tips You Should Use in NBA 2K23

Shooting Tips

Getting the right shot inputs is critical in NBA 2K23 and is one of the most valuable skills to win many games. Therefore, you must be good at it. Below, we have shared all you need to know about shooting basketball and show you some of the best shooting tips in NBA 2K23.

Why is it So Hard to Shoot in NBA 2K23?

One of the biggest problems with shooting is initially no shot meter. To equip one, go to settings, click on features, then controller settings and finally select shot meter type.

Another difficulty gamers may encounter when they first begin playing: the green meter has been altered. They’ll have to wait until after they’ve made their shot to obtain feedback, which was not feasible in earlier games. But don’t be concerned. Everything will feel entirely normal after practice and effort spent studying NBA 2K’s new shooting system via MyCareer Mode.

NBA 2K23: Best Settings For Shooting

You can customize shooting settings to what you’re comfortable with. When you go to the Options and Controller settings, you can find many things to customize to your experience with the game, including Shot Timing Release Time. You can set this setting to either Very Late, Late, Early, or Very Early. This is to set when you want to release the button for the shot, and this doesn’t make the game easier or change the animation, just the amount of the shot meter starts with so you can adjust if you want the shot window to be earlier or later. The best setting depends on the person, and it’s up to you to test out what best works for you.

How to Shoot in NBA 2K23?

• PlayStation: Hold Square or Hold Down RS
• Xbox: Hold X or Hold Down RS
• PC: NumPad 5 Key

NBA 2K23 Shooting Tips

Below given are some of the Best Shooting Tips you should use in NBA 2K23:

1. Shot Timing Release Time

The Shot Timing Release Time is one of the newest Settings to be added in NBA 2K23. Setting it to Very Late will give the Player a lot of time to make a Green Shot into the Hoop. This will help you consistently shoot Green Shots, netting you many points.

2. Badges

Some badges in NBA 2K23 can help you get better at shooting. Here are some more Badges you should consider using:

• Limitless Range
• Guard Up
• Amped
• Deadeye
• Volume Shooter

3. Timing

In NBA 2K23, you can no longer make a shot if your Shooting meter is White. To make a Shot, you will have to land the meter in the Green perfectly. Before getting into games, hop on a shooting practice & perfect the Timing of your Shots. The more Greens you get, the better you will become at Shooting.

4. Play without Shot Meter

Disabling the Shooting Meter will effectively increase the Green area of the meter and make it easier to converge Shots.

5. Pick the Right Jump Shot Combination

For those struggling to score in MyCareer, the mode allows players to assemble their signature Shot, which can be made by pairing the Base and release mechanics of many NBA players, which will have its stats divided between Shot (Release) Speed, Release Height, Defensive Immunity, and Timing Impact. With that said, for starters, we recommend that you focus on Speed and Defense Immunity, but which combination will work the best for you is entirely personal, so don’t forget to try out as many as possible.

6. Player’s Shooting Ratings

Your shooting success will also depend on how good each player’s shooting ratings are. The better their rating is, the easier you’ll find it to shoot and score.

Hope those NBA 2K23 shooting tips helped you step up your game. If you’re looking for more info on this game, check out here to view all the latest and greatest tips or get cheap mt.