Nowadays many people can watch videos on online streaming platforms, which is convenient. But there are still many people enjoying the DVD that is a good external storage capacity to save videos as collections for keeping forever. DVDs can safely back up the videos and free up your mobile space and computer systems. We feel this tangible device to store files is reliable.
Therefore, some of you may want to create your own DVDs to store the precious videos. If so, you need a useful DVD maker. A good DVD maker will help you burn videos into DVDs without any effort. In this passage, we will recommend you the best DVD creator: VideoByte DVD Creator. It can assist you to burn DVDs smoothly.
Key Features of VideoByte DVD Creator
In this part, you can learn the main features of VideoByte DVD Creator and check if it meets your needs.
1. Support Common Formats& Popular DVD Types
VideoByte DVD Creator allows people to input videos of commonly used formats such as AVI, MP4, VOB, FLV, MPEG, 3GP, etc., and burn them into DVD types like DVD-5, DVD-9, BD-25, and BD-50. Blu-rays are also supported. Besides, it can also burn 3D videos.
2. Allows to Customize DVD Menu
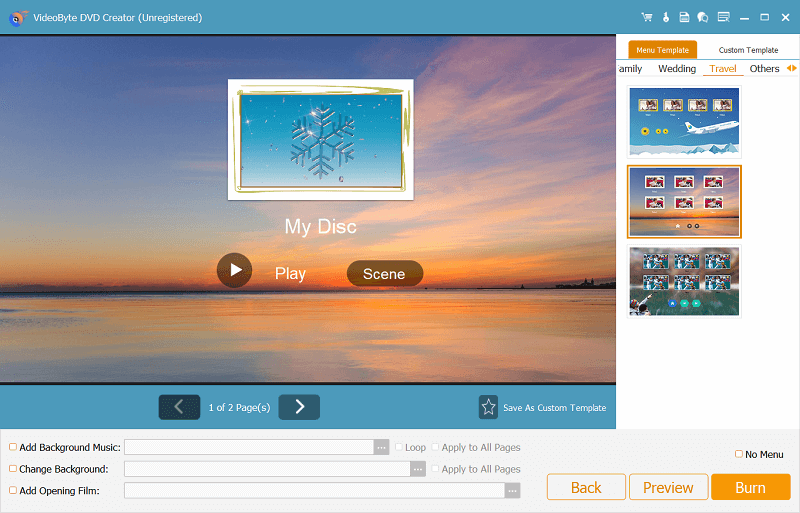
You can easily design your DVDs in various themes. VideoByte DVD Creator offers a diversified and fabulous DVD menu such as holiday, family wedding, travel, and so on. It too allows you to add background, background music, and opening film from your local file to get a personalized DVD file, making your DVDs more vivid.
3. Able to Add Subtitles and Audio Tracks
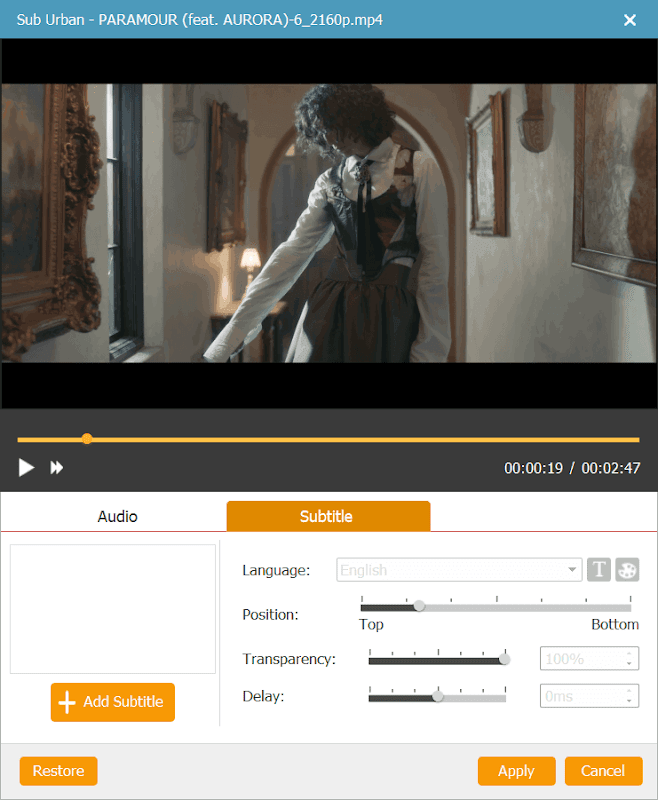
This DVD maker helps you add or change the Video tracks. It supports almost all popular audio formats so you can apply the special audio effect for a better experience. You can also add subtitles to vivify the videos. SRT, SSA, and ASS are the supported file format. The subtitle effects can also be adjusted.
4. Offer Build-in Editor
VideoByte DVD Creator has a built-in video editor with various video editing functions, so you can DIY the videos before burning them to DVD. Features like rotating, cropping, effects, video enhancement, watermark, chapter splitting/merging, etc. are all provided for editing the imported videos.
5. Intuitive Interface
While using VideoByte DVD Creator, you don’t need to worry about wasting much effort on learning how to use it or finding different options. It provides you with a clean page and you can easily find almost every function on it.
Now you have an idea of VideoByte DVD Creator. Next we will brief you on the steps to use it.
How to Burn Videos into DVDs with VideoByte DVD Creator
You can check the following guide to learn how to use VideoByte DVD Creator.
Step 1. Install VideoByte DVD Creator to your Windows or Mac computer. Launch it and insert a blank DVD.
Free Download
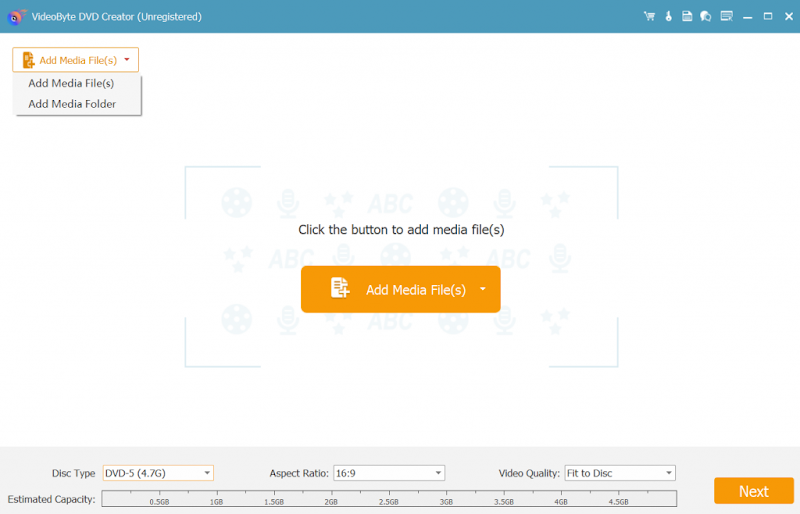
Step 2. Click “Add Media File(s)” on the home screen of the software. You can select the videos you want to burn to DVD to VideoByte DVD Creator.
Step 3. Then you can click the “Edit” button to edit the videos before burning. You can change the video effect by adjusting the brightness, saturation, contrast or hue. Trimming, cropping, or adding watermark to the video are also supported.
Step 4. After saving the editing, you can also add subtitles or audio tracks to the videos. Customize the DVD menu with background music or image imported from local files are also available.
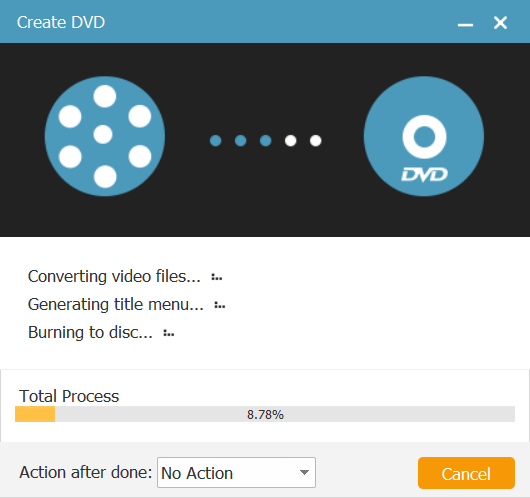
Step 5. Now you can go to “Preferences” and select the output format and DVD disc for burning the videos to. Then just wait for the burning process to be completed.
Conclusion
Storing favorite videos on DVDs is a good and reliable way, and you can also enjoy them on your TV or computer screen. So if you want to burn videos into DVDs now, why not use this amazing Videobyte DVD Creator to help you? Download it at once and try it now.