The Surface Pro 9 is a versatile and powerful device, but accidents happen, and a cracked or damaged screen can hinder its functionality. In this guide, we’ll walk you through the process of replacing the screen on your Surface Pro 9, allowing you to restore its pristine display swiftly and effectively.
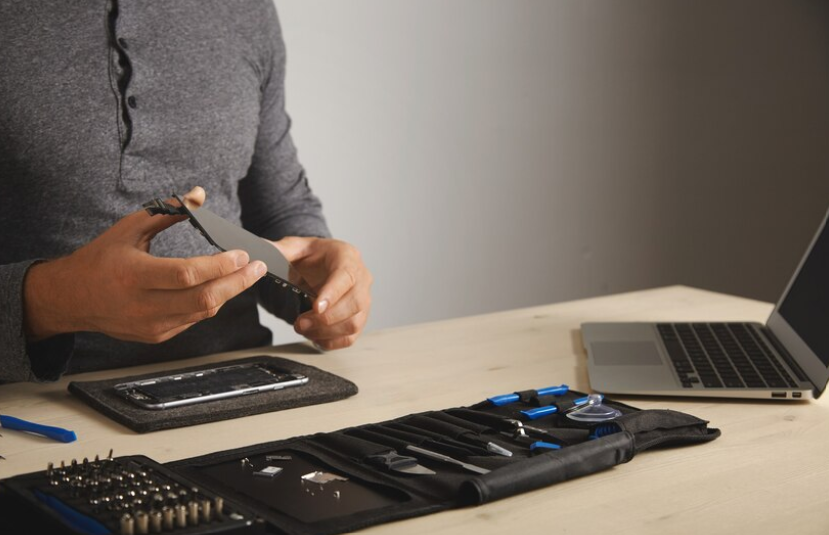
1. Gather Necessary Tools:
Before you begin, gather the essential tools for the screen replacement, including a heat gun or hair dryer, a suction cup, a prying tool, a screwdriver set (with Torx and Phillips heads), and a replacement screen compatible with the Surface Pro 9.
2. Power Off and Prepare:
Power off your Surface Pro 9 completely to avoid any potential damage during the replacement process. Lay the device on a flat and clean surface, and ensure you have ample workspace to maneuver comfortably.
3. Remove Rear Cover:
Use a heat gun or hair dryer to gently heat the edges of the rear cover to soften the adhesive underneath. Once heated, insert a prying tool between the rear cover and the device’s body and carefully pry off the cover.
4. Disconnect Battery and Components:
Locate the battery connector and carefully disconnect it to prevent any electrical mishaps during the screen replacement. Next, disconnect any other components attached to the motherboard, including cables and connectors.
5. Remove Damaged Screen:
Use a heat gun or hairdryer to warm up the edges of the screen assembly, softening the adhesive holding it in place. Once warmed, place a suction cup near the edge of the screen and gently pull to create a gap. Insert a prying tool into the gap and carefully work your way around the screen, separating it from the device’s frame.
6. Install Replacement Screen:
Carefully align the replacement screen with the device’s frame, ensuring it sits flush and level. Once aligned, apply gentle pressure around the edges to secure the screen in place. Reconnect any cables and components previously disconnected, including the battery.
7. Reattach Rear Cover:
Apply adhesive tape or adhesive strips along the edges of the device’s frame. Carefully position the rear cover over the device and press down firmly to secure it in place. Apply gentle pressure around the edges to ensure a tight seal.
8. Power On and Test:
Power on your Surface Pro 9 and test the functionality of the new screen. Ensure that touch responsiveness, display clarity, and other features are working correctly before fully reassembling the device.
Conclusion:
By following these step-by-step instructions in this article, you can successfully replace the screen on your Surface Pro 9, restoring its functionality and visual appeal with ease. Remember to work carefully and patiently throughout the process to avoid any damage to the device or its components. With a new screen in place, your Surface Pro 9 will be ready to tackle any task with renewed clarity and precision.