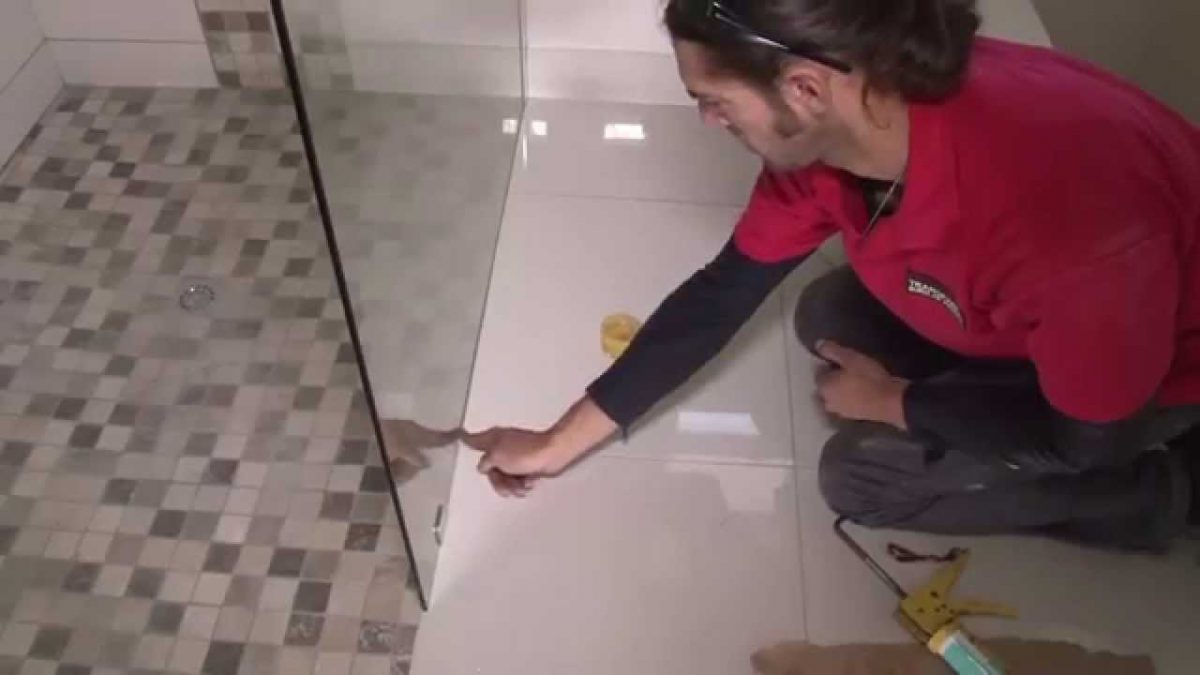
Installing a shower screen is becoming increasingly popular in modern homes. Not only can it make a bathroom look more aesthetically pleasing, but it also adds an extra layer of privacy and protection from water spills that can occur when showering. This article will explain the necessary steps for the successful installation of a shower screen.
Tools Needed
Installing a shower screen requires the right tools to make sure that it is installed properly and securely. To start, you’ll need a drill with a masonry bit for drilling into the tile wall. You will also need two adjustable wrenches or spanner sets for connecting the pieces of the frame together.
You’ll need some sealant to ensure that the frame is properly sealed and waterproofed. To finish off, you’ll require a screwdriver set to attach screws in order to secure the frame against the wall. Depending on your installation project, you may require extra silicone sealant or adhesive backing strips for further waterproofing solutions.
It’s important to have all of these supplies on hand prior to starting your installation process as they are essential for making sure that your shower screen is secured and sealed correctly in place.
Removing Old Screen
Removing old screens from the shower can be difficult and require extra attention to detail. Unscrew the hinge pin with a screwdriver, and then support the glass panel as you move it out of its frame. If adhesive tape was used to secure the old screen, use a heat gun or hairdryer to loosen it before attempting to pry it away from the wall. Take care not to let any sharp edges or pieces of glass come into contact with your skin. For added safety, wear protective gloves while working on your shower glass.
It is also important that you properly dispose of any broken pieces of glass safely and carefully. Place them in a sealed container before taking them out of your home for disposal at an appropriate waste facility.
Assembling New Screen
Assembling the new screen requires gathering the necessary tools, preparing the shower area, measuring, cutting and then finally attaching the components.
Before beginning the assembly process it is important to have all tools on hand such as a screwdriver, drill, screws and washers. It is also beneficial to lay out all parts of the shower screen before getting started to make sure no pieces are missing. Additionally take measurements of both inside and outside dimensions of your existing shower so that you can purchase exactly what you need for your replacement screen.
Once all measurements are taken and tools gathered its time to begin assembling!
Securing New Screen
Securing the screen is essential to ensure it doesn’t come loose during use. Check the wall and floor around the area where the shower screen will be installed. Make sure that it’s flat and free of cracks or gaps that could compromise the stability and security of your screen.
Then, measure twice before cutting any holes in walls or tiles to install your new shower screen. Use a level or straight edge to confirm your measurements are accurate and use a power drill with masonry bit to create pilot holes.
Finishing Touches
Once the shower screen is installed, there are a few finishing touches that should be completed to ensure it looks its best.
First of all, make sure all joints and connections have been caulked or grouted for a smooth finish and to prevent water leakage. Another important step is to check the seals around the edges of the shower screen door; if they are worn out or cracked they should be replaced in order to provide an effective barrier against water escape.
Finally, it’s time to give your shower screen a final clean with glass cleaner before enjoying your newly-installed shower enclosure. With these simple steps you can be confident that your new shower screen will look great and last for years!
Conclusion:
Although installing a shower screen may seem daunting at first glance, it is actually quite simple with the right resources. By following these steps outlined in this article, you can confidently tackle this DIY project without any trouble or stress. With some preparation and an understanding of basic plumbing principles, anyone has the ability to install their own shower screen safely and successfully.
