With the Netgear EX6120 extender setup, you can extend the range of your existing wireless network. It is a dual band (2.4 Ghz and 5Ghz) wifi range extender that can improve the speed and range of your current wifi. By connecting your Netgear AC1200 to an ethernet cable, you can use it as an extender as well as an access point to create a hotspot. This blog will walk you through the entire step-by-step process of setting up a Netgear extender.
Installing Netgear EX6120 Extender helps to improve the coverage and signal strength of your existing wireless network. The setup process for the EX6120 includes the following steps:
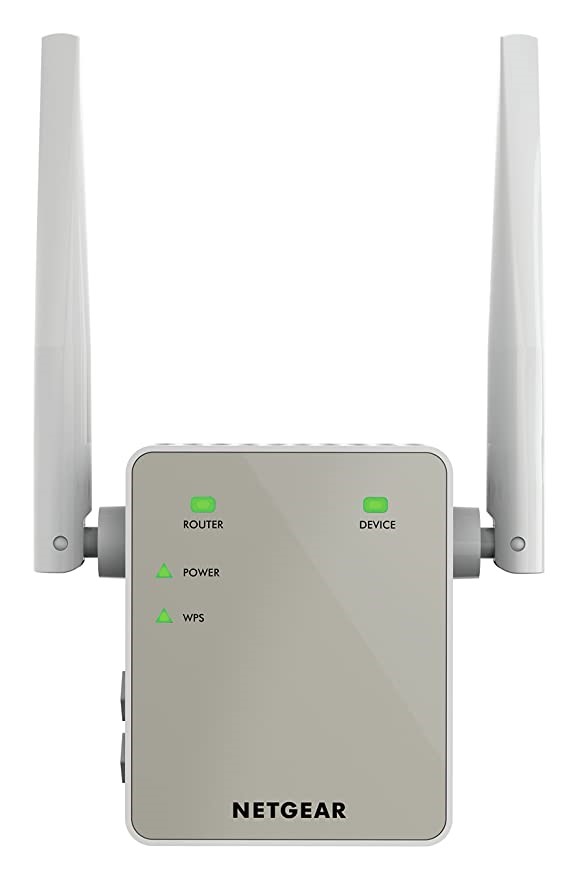
- Turn on the Netgear EX6120 extender.
- Hold off until the Power LED has fully turned green.
- Bring out any wirelessly enabled device, such as a tablet or smartphone.
- Using an ethernet cable, connect your router to the WIFI repeater.
- Once connected, open a web browser and type mywifiext.net into the address bar.
- The new extender configuration page has been reached.
- Follow the steps to connect your router and the booster.
If your extender does not have four solid lights after you install it. Then, please perform a factory reset to regain access to the Netgear Extender Setup page and use the above-mentioned method to reconnect to Mywifiext. Otherwise, you can always contact us and get assistance from our certified experts who are working around the clock to resolve the issue.
Netgear EX6120 Extender Setup using WPS method:
The WPS (Wi-Fi Protected Setup) method is the easiest way for Netgear EX6120 extender setup. You can connect devices to a wireless network without having to enter the network’s password. It is a quick and easy way to set up the Netgear EX6120 extender to your existing wireless network.
When using the WPS method, you will press the WPS button on the extender and your router at the same time. This will establish a connection between the two devices, allowing the extender to connect to the existing wireless network without the need to manually enter the network’s password.
- Make sure your EX6120 is turned on.
- Connect it to your current wifi router.
- Locate and press the WPS button on your EX6120.
- Also, on your existing router, press the WPS button.
- When your EX6120 displays three steady green lights, it means the setup process was successful.
- Now, position your EX6120 in the desired location with dead zones.
Netgear EX6120 extender setup using the WPS method. If you require assistance, please contact us at our toll-free number. Our technical team will assist you in resolving your problem.
Common issues:
- Mywifiext.net isn’t functioning correctly.
- There is no internet connection to the WiFi extender.
- The WiFi network is not connected to the extender.
- Cannot install using Netgear Extender Default IP Address 192.168.1.250 as a proxy.
- Mywifiext.local is not connected to the user.
- Password forgotten.
- The Netgear Extender isn’t functioning properly.
- WiFi connection is not strong.
- The lights on the Netgear Extender are not stable, and they only blink red rather than green.
- Mywifiext.net won’t open after the Netgear EX3310 | AC750 was updated.
- Updates on the Netgear Ex3110 Setup failed.
- Update to the Netgear Extender Firmware failed.
- The Internet is already connected but is not functioning properly.
Troubleshoot tips for netgear ex6120 extender setup issues
Here are some troubleshooting tips for resolving common issues with the Netgear EX6120 extender setup:
- Make sure the extender is placed in a location with a strong signal from the existing wireless network. This can be determined by the strength of the signal on your device when it is connected to the network.
- Check that the extender is properly plugged into a power outlet and that the power LED is on.
- Verify that the WPS feature is enabled on your router and that the router is within range of the extender.
- Make sure that your device is connected to the extender’s default WiFi network.
- Check that your device’s wireless adapter is enabled and that the device is not in Airplane mode.
- Make sure that your device is not connected to any other networks and that the network settings are set to automatically connect to the extender’s network.
- Try restarting the extender and your router to see if that resolves the issue.
- Try using the manual setup method, instead of the WPS method, by entering the network’s password manually.
- If nothing else works, please check the user manual for more detailed instructions or contact the Netgear Support for help.
It’s important to note that the issues and their solutions may vary depending on the version of the device and the software it’s running.
How to update firmware on Netgear EX6120 Extender?
After performing a Netgear EX6120 firmware update, you will be able to obtain new security features and other new features that tend to fix bugs and other problems that you may have encountered while using your extender, as well as improve the performance of your AC1200. To download the most recent version of the firmware, go to mywifiext.net.
Follow these steps to update the firmware on your Netgear EX6120:
- To begin, turn on your EX6120.
- Connect your mobile device to your existing network.
- Go to www.mywifiext.net in a browser.
- Enter your personal information to log in to your AC1200.
- Select settings and then firmware upgrade.
- Remember not to unplug your extender while the firmware update is running.
That is how you will be able to update the firmware on your Netgear EX6120.
Netgear EX6120 Reset:
The Netgear EX6120 reset operation is typically performed when a user forgets the admin password or username and wishes to recover it. When you successfully complete the factory reset operation, it will delete all of your personalised information and prepare your AC1200 for a new installation process. You’ll need a paper pin or something similar to perform the factory reset operation on your extender.
Here are the steps for resetting the Netgear EX6120:
- Turn on the Netgear EX6120.
- Locate the AC1200’s reset button.
- Use a pin or a pen to press the reset button for 9 to 10 seconds.
- When the LED blinks and then turns solid green, you have successfully completed the factory reset operation.
By using this method, you can reset your EX6120. If you continue to have problems with your extender, please contact us via our toll-free numbers or live chat.