How to Solve Printer in Error State on Windows 10

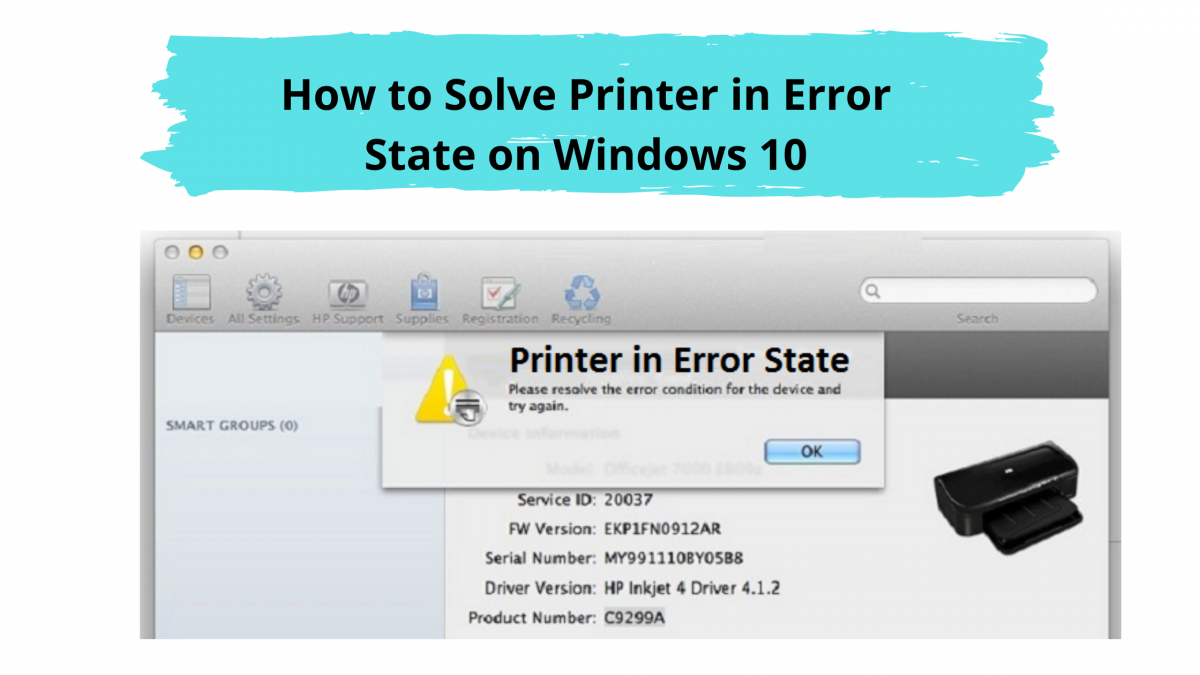
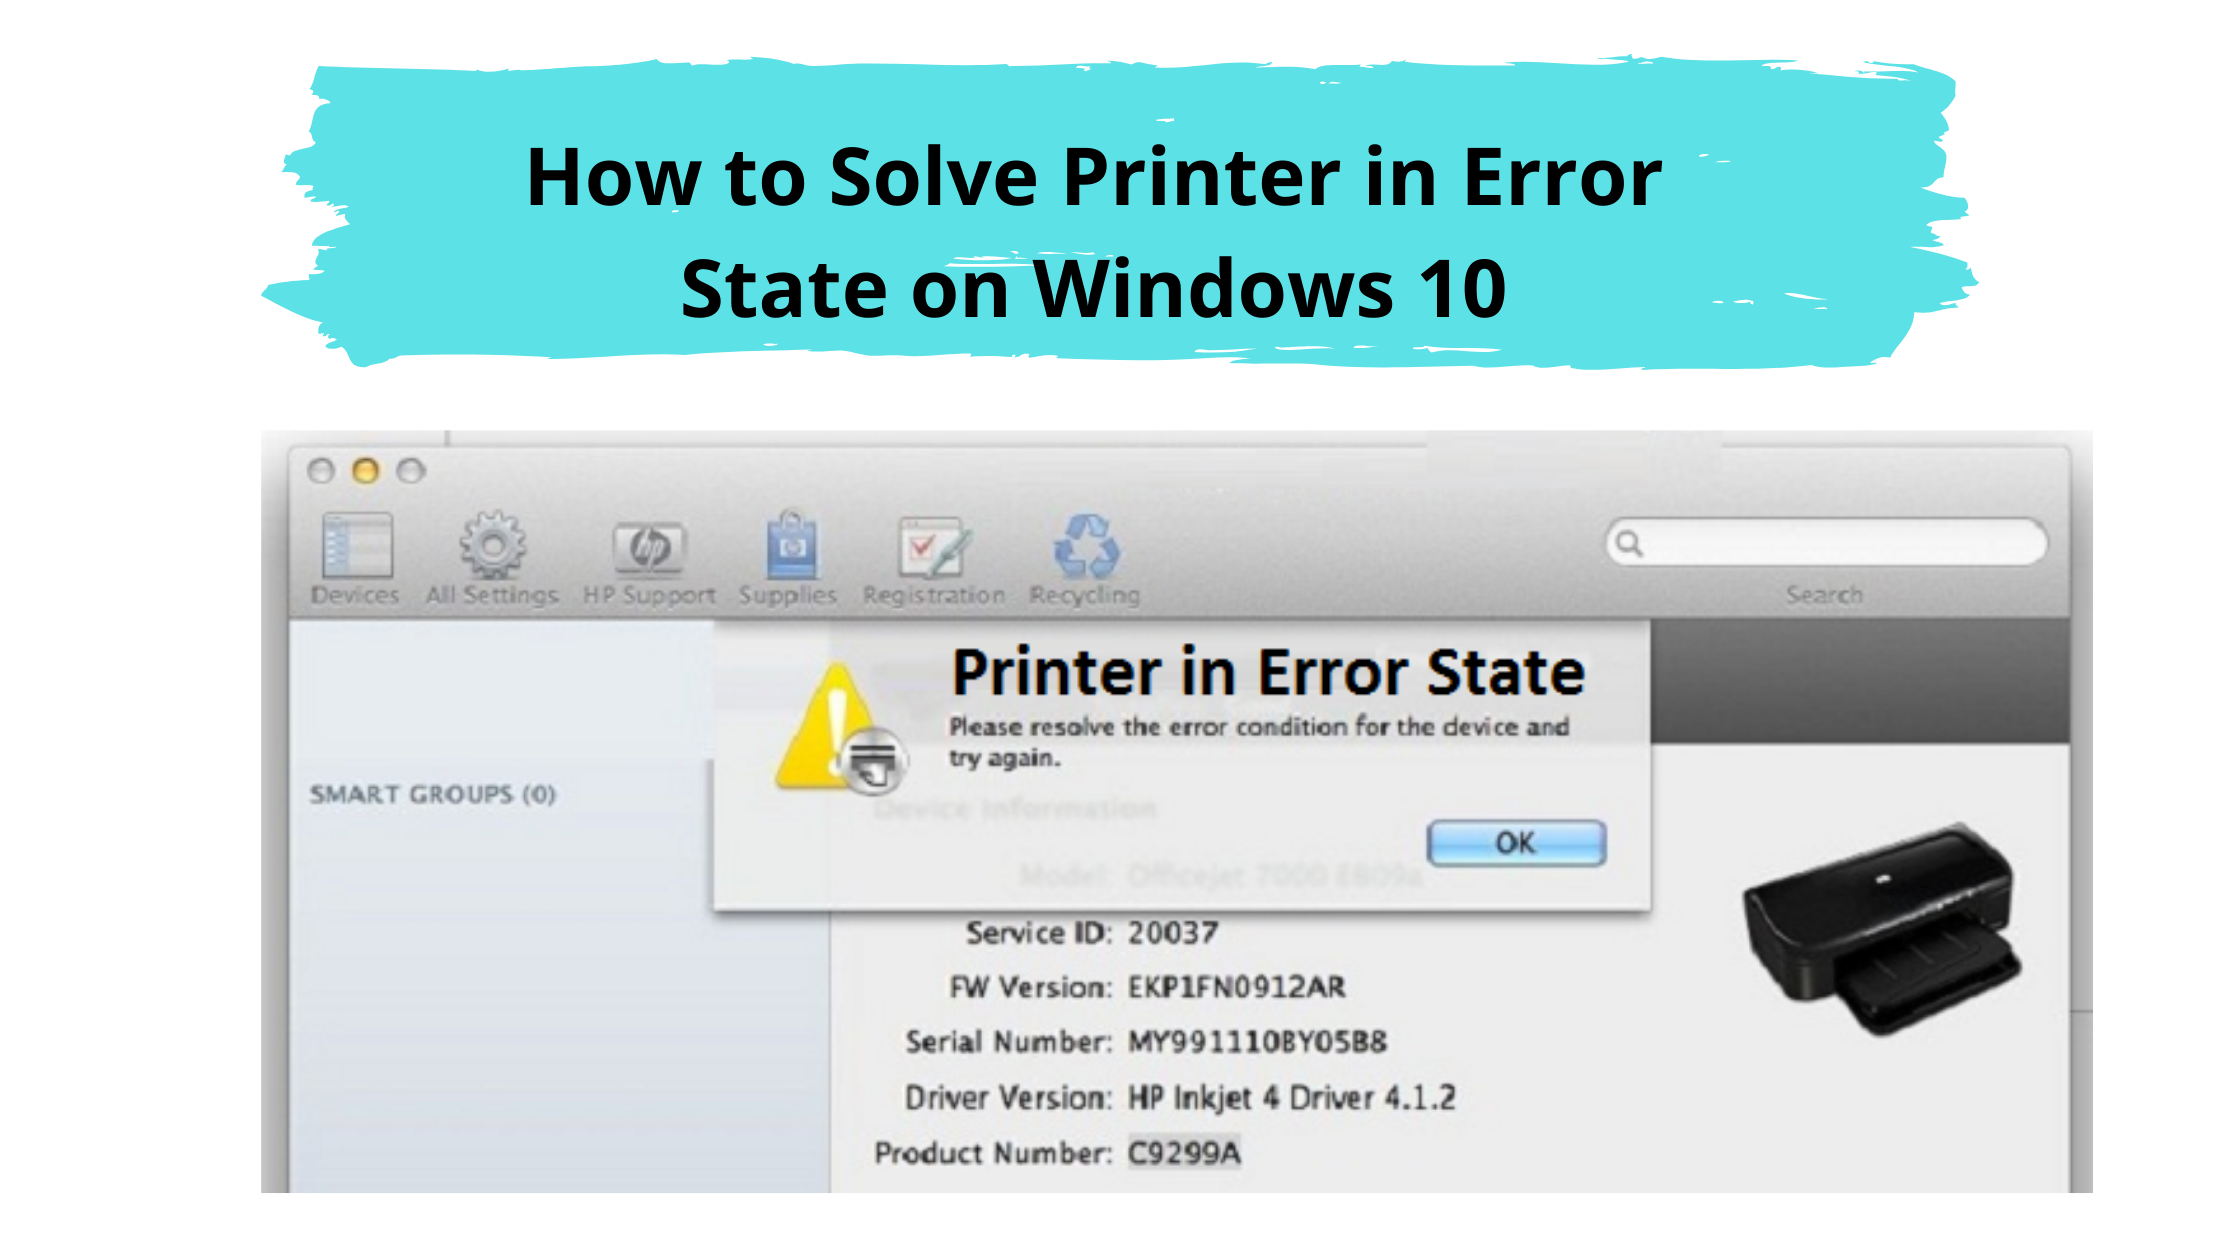
After detecting a printer problem in Windows 10, the printer is in an error state, cannot print files, or cannot connect to this printer? Here, every potential solution to fix a printer from error or offline state in Windows 10. Quite a few Windows users are reported following Update or install the latest Windows 10 founder updates. Moreover, uninstalling and reinstalling the device doesn’t seem to work for them.

epson printer in error state windows 10

A printer problem in error state in Windows 10 is an error that usually occurs when the printer is jammed, low on paper or ink, a cover is available, or the printer is not connected properly. Here are some relevant answers to fix this error.

How to Solve Printer in Error State on Windows 10

Check that it is properly connected and restart the printer
First, evaluate your printer to find a physical problem that could be the source of the “printer error with Windows 10 error”. Assess that the link between the computer and the printer is working normally. Make sure the devices connect properly to everyone else. ” different USB ports as well as the system (Bluetooth or wireless) or the cable used for connection have no problem at all.

Turn off the printer and wait for the paper to shake, then close all openings properly. When a paper jam occurs, remove it.
Check if the printer is low on ink, refill it just in case.
If you are using a WiFi printer, turn on the WiFi of that printer in combination with the modem router.
Run the printer troubleshooter
Windows 10 has a built-in printer troubleshooter that automatically finds and fixes problems installing and connecting to the printer.

Press Windows + I to open the Preferences program,
Click Update & Security, then troubleshoot
Then select your printer, then click on the troubleshooter,
Let the troubleshooter find and fix problems that are preventing the printer from working properly.
Restart Windows After the troubleshooter completes and assess if it helps.
Verify that print spooler support is working
Press Windows + R, type services.msc in the field, then press Enter.
This can start the Windows services console,
Now find the services known as Print Spooler, make sure the providers are running and set to Automatic.
To set the service to automatic, right-click the service and click Automatic.
Click Apply and then OK.
Correct in Device Manager
Press together the Windows + R keys, type devmgmt.msc and click OK.
This can open Device Manager and register all installed drivers.
Click the View menu and select “Show Hidden Devices” from the drop-down menu.
Then extend the Ports class (COM and LPT)
Right-click Printer Port, then select Properties.
In the Printer Port Properties (LPT1) dialog box, go to the Port Settings tab, then select “Use any interrupt assigned to an interface”, and then select the “Enable Plug and Play Legacy Discovery” check box.

That’s it. After clicking OK to save the changes, then close Device Manager. Restart the printer and computer to restart and try to print. Hopefully this time you must be able to print any file without having to deal with a Windows 10 printer error.

Reinstall the printer drivers
If you still have the same filler in a defective state when making your prints? Then try updating or reinstalling the printer drivers on your system. To get this Open Camera Manager, just follow the instructions below.

Press Windows101tricks + R, type devmgmt.msc and press Enter.
In Device Manager, expand Tools and find the printer in the list.
Now right click the printer driver and select Uninstall Device from the context menu.
When a warning appears, the message “you are going to uninstall this device on your system” will appear. Check the box in the driver software for that specific device and simply click the Uninstall button to transfer. After the printer drivers are flashed, restart your system. After restarting, your Windows 10 computer will automatically try to configure the printer drivers.

Download the latest driver from the manufacturer’s website

Or Visit the manufacturer’s website and download the latest printer drivers for your Windows 10 computer.

Brother
Canon
Dell
Epson
HP
Kyocera
OKI
Samsung
photocopier
Then set up the printer driver, run setup.exe and follow the on-screen instructions. Installing updated printer drivers can help you fix Valve error, Windows 10 printer problem, and many similar printer problems.

Resolved Supply Memory Error Code in HP Printer

Occurs that when you have a printout and are about to finalize your record, the error “Supply Memory Error” appears on the printer controller panel. You hit it and you feel frustrated. Wondering how to start doing this. Don’t panic, we’re here.

Causes HP Printer Supply memory error message

Why is an HP printer error showing on my HP printer?

Resolved Supply Memory Error Code in HP Printer

Troubleshooting steps HP printer memory error

It is necessary to understand this in order to fix any case. There is a chance to observe this HP printer Supply memory error while setting up a new cartridge or while the printer is turned on. An error is a sign that the cartridge you installed cannot communicate with the printer. The cartridge you put in is harmonious then it can fire in minutes and can be a false alarm.

How do I fix an HP printer Supply memory error?

You should try these actions to get rid of the stock memory error.

Take out the cartridge

To begin with, the panel should start and remove the cartridge. You should start looking for the underside of this printer’s microchip. Make sure there is no broken or cracked component inside as this could be the main reason for this error. You can resolve the HP printer Supply memory error by eliminating it.
Remove any foreign objects

Whenever a cartridge has been eliminated by you, take a look and see if there’s any gift. There may be several packing materials. It is possible that this packaging material is currently creating a barrier to your own work. Remove with any foreign material, then reinstall the print cartridge. Wait a few minutes and check for an HP printer Supply memory error.

Change the capsule

Then it is quite possible that the configured cartridge is not genuine if the previous two measures do not work. This is an item that is false. You need to replace it with a real refill. Near the printer in case an HP printer Supply memory error occurs and check.

We believe that upon completion of these measures, you will be able to resume your work. Your problem could be resolved. But you will find an HP printer Supply memory error, and if it doesn’t, don’t waste your time and seek help from our expert technical group.

Range of services

1. We have our own group of specialists 7.
2. We believe that work should not suffer for any reason. Our support of printer specialists ensures that all kinds of problems are solved in the shortest possible time.
3. We pride ourselves on becoming one of the online alternative Supply. Every interlocutor is important to us.

Therefore, do not hesitate to call () in case of problems with an HP printer Supply memory error. We have.

How to reset a Canon printer?

Canon printers come and cut out the printer as soon as the amount of ink reaches the level of work. Under certain circumstances, the Canon printer may not work after replacing the cartridge for reset. This happens when refilling instead of replacing the cartridge with a printer cartridge. It can be canon printer reset registers itself as a reset each time a cartridge is installed.

You run into a problem that you may be frustrated with. In this case, you can contact Canon support. Specialists will contact you and try to solve your problem as soon as possible. You can call specialists 24 7.

How to reset a Canon printer

Factory reset

Canon printer menu access is provided. By using this option, you can restore your settings and require you to go through the installation process and reconnect to the network.

Delete an ink cartridge
Canon printer will guide you before proceeding with print jobs if you fit a new ink cartridge. A menu will appear, then publish a sample newspaper sheet and align. Refillable ink cartridges are a problem for Canon printers, there are also methods to repair the printer. For printers of this Pixma MP / MX / MG model, the ink cartridge will allow the printer to be reset according to BCH technology.

Operational measures to reset the Canon printer
Practical methods of resetting a Canon printer to factory configuration
It will be restored by resetting the Canon printer back to bright conditions and all settings after getting them. This would require setting up the installation process and reconnecting the printer. Though it could be a way to get rid of error messages and all problems.

To run the factory reset option,

Turn on the printer and go to the menu.
Access the directional arrows to execute from the install menu.
Visit Device Preferences, then press OK.
Select Reset Settings, and then press the OK button to start the procedure.
Ways to connect Canon ink cartridges
The ink cartridge in the Canon printer or after refilling will encounter a problem which is reset. There are methods the most common way is to reset the printer based on BCH technology. Follow these steps to reset properly.

  • Turn off the printer.
  • Press the power button along with pressing the button.
  • Release the Stop button for a moment.
  • Hold down the Power button again, and then press the Stop button twice.
  • After approximately 30 seconds, the printer will display “O” on the monitor.
  • Press the Stop button four times before pressing the Power button.
  • Now press the power button again to turn off the printer. This may end the
  • reset procedure.
  • Reset the ink cartridges by discharging the power and USB cables.
  • Open the ink cartridge door by pressing the power button, and then
  • reconnect the power cords as you press the power button.
  • Close the capsule door, then leave the power button on.

What should I do if I still have trouble resetting my printer?
It’s easy to reset your Canon printer to factory 15 condition by following the steps besides resetting your Canon printer ink cartridge. If you need help, please do not hesitate to call us Canon Customer Service by calling the Canon Customer Service phone number to speak to our professional technicians. They help you reset your Canon printer and use the technology.

How to fix the error 0xc18a0206 of the HP Photosmart 8250 printer

Before we go into explaining the error, let’s talk about the majority of HP printer manufacturers that are their user priority. HP is the latest that facilitates the latest and most innovative versions of applications. Due to its interior attributes and appearance, it is definitely a demanding and trustworthy brand. However, this printer manufacturer can be affected by wrong answers.

hp printer error 0xc18a0206
Now we are going to go to the hp printer error 0xc18a0206 which is basically shown from the printer control panel. There may be several reasons for this event. Many of them are in:

HP printer error themes which is 0xc18a0206

A printer cartridge may not be installed.
The printer cartridge can be reduced.
• The printer’s ink cartridge may be damaged or it may be installed incorrectly.
There could be some other problems that could result in the error 0xc18a0206. This is the reason why we will directly describe the steps by which your problem can be resolved by you, depending on the explanations.

The solutions to the above-mentioned recitals are explained below

Case 1: When the installation of the printer cartridge is not installed correctly
1. Replace the cartridge when the warning message is displayed.
2. Make sure the printer cartridge is set up.
3. If you do not configure it, reinstall it, then remove the printer cartridge.
4. If an error message appears, use the printer’s cleaning function.
5. You want to update the printer driver to work around the error.

Case 2: When the print cartridge is reduced
1. Remove the ink cartridges from the HP printer.
2. Don’t judge or if there is any tape on the cassette.
3. Publish the contacts to the HP Photosmart printer in addition to the cartridge contacts.
4. Check to see if any cartridge is empty, low, leaking, or bulging. If it is replaced with those that are true and original.
5. Turn off the printer and disconnect it.
6. Insert a cassette and see if there are problems.

Case 3: When the capsule is damaged or incorrectly inserted
1. You must be sure that the cartridge is damaged or not.
2. When it is damaged, replace it with the one it is.
3. Turn off the printer, then turn it on after a few seconds.
4. Check whether the cartridge is working or not.
When the cartridge is not properly seated, remove the cartridge and place it in the perfect location and solve the problem.

If you are still unable to resolve your problem and have committed other motives of the 0xc18a0206 error on your HP printer, you can call us at our HP Customer Support Phone number which is completely toll free and you are able to connect everywhere via this number. Rest assured that your problems can be easily solved by you simultaneously and wherever you are.