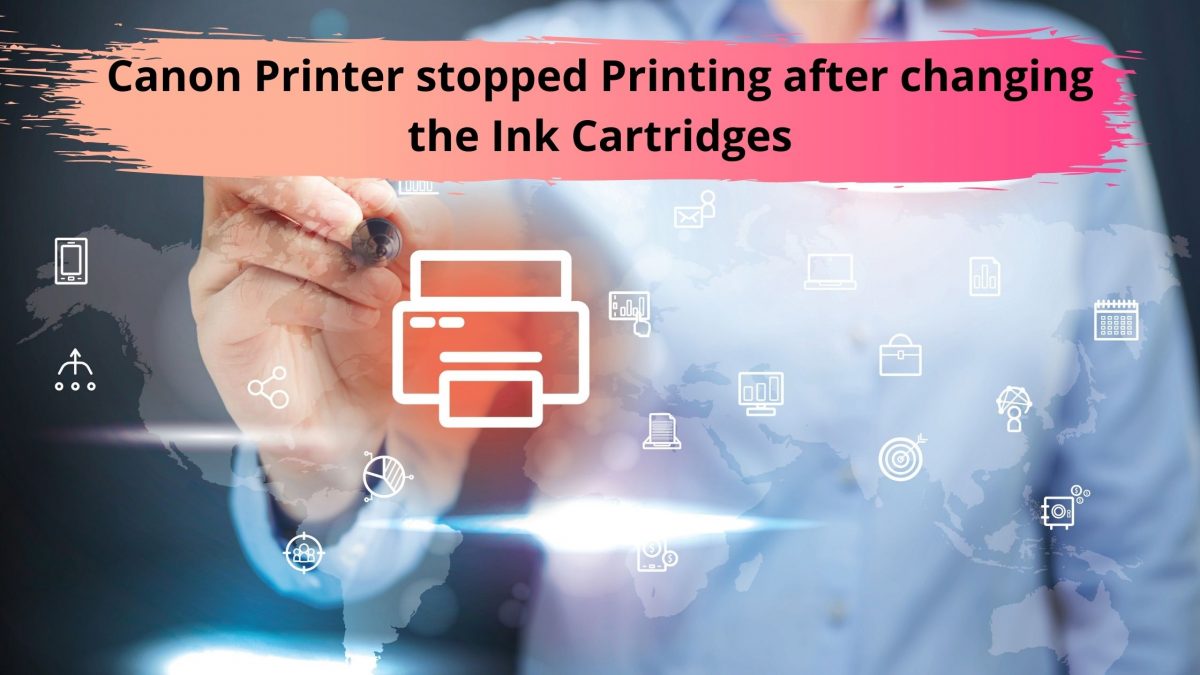
The printer currently requires one hour. Most of us rely on this device to publish multiple documents such as letters and graphics. Occasionally, after replacing an empty ink cartridge, you may notice that the printer has stopped printing without producing the desired results and proper prints. If you have exactly the same situation, we can declare that the printer does not understand the ink cartridge or thinks it is still empty. The consumer may face a disadvantage when empty cartridges are refilled by him independently. So, when you fall into the trap of a printer problem, don’t hesitate to enlist the help of our tech friends.
Please rate the points listed below to fix this issue:
Remove the protective tape: In many printers, you may find that these ink cartridges are shipped with a small strip of tape covering the nozzle. It helps to block the nozzle, which prevents the ink from leaking out during transport or packaging. The cartridge will not be able to print unless you eliminate this tape called protective. To do this, remove the cassette from the Canon printer and search for the tape. Its color may vary depending on the design of the insert. If there are any labels or stickers on the cartridge, do not remove them as this may help seal the capsule and the ink will not flow out or dry out. The ink is likely to dry immediately after removal.
Reset the ink cartridge counter: It is possible the Canon printer does not recognize the ink cartridge or the ink counter may consider it “empty”. Some printer models contain a cartridge reset attribute, which is useful in the scenario When the printer fails to diagnose an ink cartridge.
At least 3 minutes. Then lift the clamp, but do not remove the cartridge from the Canon printer. Now close the clamp and then press the Load / Eject button again. You can also refer to the printer’s manual for the reset process.
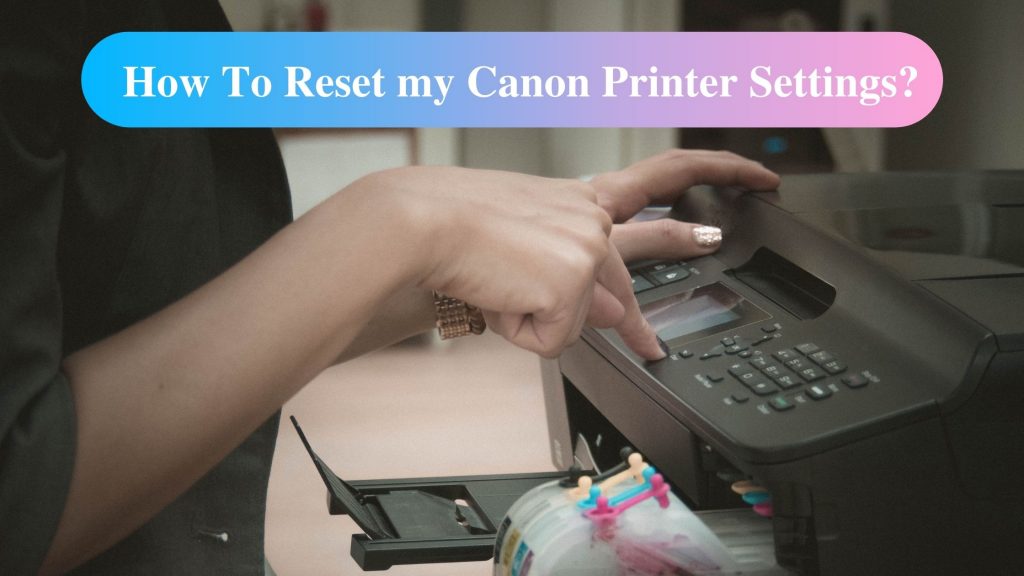
Also Read:- how to reset canon printer
Run an extended cleaning cycle: Suppose the ink starts to dry out, then you need to run an extended cleaning cycle. This will solve your problem and help the printer understand the ink cartridge. Check the printer for the “Clean” button and wait a few minutes. You can request assistance by calling Canon’s support number (1-800- 314-8024) to run a cleaning cycle on the printing device. After completing this procedure, print a test page to see if the printer is working properly or not.
Problems with refilled cartridges: To save money, refilling an ink cartridge can help. However, if it is not done correctly, it may cause the printer to inoperative (ie, not print). When doing this (refilling ink in the cartridge), sometimes the ink does not spill along the method onto the bottom / bottom of the reservoir. You can prevent this from happening by putting new ink into the sponge through the ink spout. On the other hand, air bubbles blocked inside the ink cartridge can also obstruct the flow of ink. At this point, you need to let the ink cartridge sit for about an hour. For this, the bubbles will likely be eliminated on their own.
Nevertheless, the problem prevails, so remove the ink cartridge and gently tap it against the desk so that the bubbles can be removed.