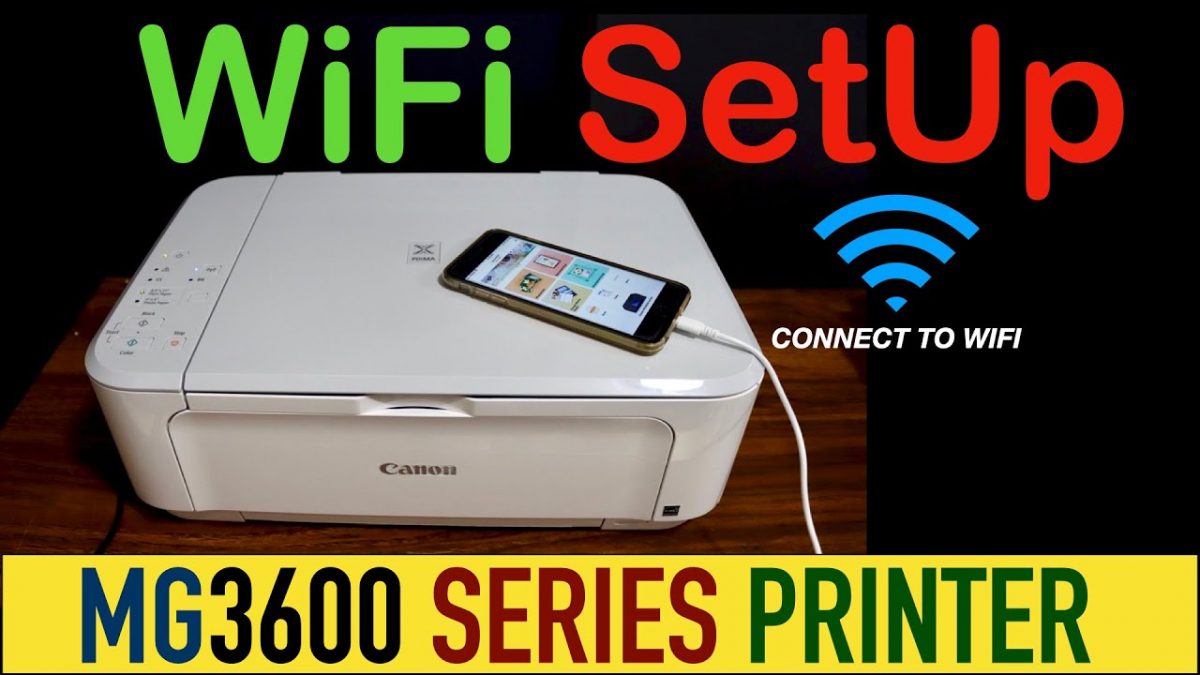
Canon Pixma MG3600 Setup is a reliable source to print, scan, copy and even fax. It is a wireless printer, which means you can print and scan from anywhere. It displays maximum portability and high performance. It has a lean body design.
How to set up Canon Pixma 3600?
If you already own this printer Support, then first you have to unbox it, take out the accessories and keep the printer on a flat surface. Plug the wire in the socket. Connecting the device can also be done through WPS (Wi-Fi protected setup). You can acquire Canon mg3600 setup easily through WPS method without the need to enter the password. Below is the method to set up canon pixma 3600 through WPS method and standard method.
WPS Connection method
If the access point already has a WPS button, then this method can be used. Obtaining Canon Pixma 3600 setup is easy through this method. Below are the instructions how to connect mg3600 to Wi-Fi
- Turn on the printer and make sure the WPS button on the router is accessible.
- Keep pressing and holding the Wi-Fi button till the on lamp flashes.
- Press the black button, and then the Wi-Fi button.
- We need to ensure the Wi-Fi lamp flashes quickly and the ON lamp is lit.
- Go to the access point and press the WPS button within 2 minutes.
- Ensure that the Wi-Fi and power button are not lit.
Standard connection method
- Click on “start setup”
- Select region and country. Then, click next.
- Accept the terms and conditions of the license agreement and then click “yes”.
- Allow Install Wizard Process by clicking “Yes”.
- Select “Wireless LAN Connection” for setup
- Connect via wireless router and and click Next
- Ensure that the printer is turned on and click next
- Choose “Setting printer could not be found on the list” and then tap Next.
- Follow the instructions on screen.
- Wait for some time for setup
- Hit on Next when setup completes.
- After that click “Exit”
The access points are of utmost importance and they always have the WPS button, right-click and select the ‘WPS Connection Method’ because this method is the easiest way of completing the Canon MG3600 connection setup with Wi-Fi.
Follow the steps provided for completing the Canon MG3600 connection setup with Wi-Fi. The steps are as under:-
- First of all, just check if the printer is ON or NOT and check if the WPS button on the wireless router is available.
- Now, give a deep long press on the Wi-Fi button on the printer until the ON light flashes brightly.
- Tap on the black button present on the home screen and then click on the “Wi-Fi” button.
- Now, make sure the Wi-Fi is blinking fast and steady. Also check the ‘On’ light is lit. Next, you have to go to your access point that is available on the printer and long-press the WPS button for a couple of minutes.
- Now after all the hassle, you will see that the blue light of WI-Fi on the printer will light up, the power and the Wi-Fi lamps will both flash on the printer. Once the printer is firmly connected to your Wi-Fi, the power of the printer and Wi-Fi light will stop flashing.
- In the end, just make sure that the Wi-Fi light and the ‘ON’ light are lit together.
When you’re done with the aforementioned steps, the network connection setup gets completed. If however, your device is not working, skip to the next plan to complete the canon mg3600 setup process.
The Second Method to troubleshoot
Standard Connection Method
In case your access point doesn’t hold WPS, you need to now follow the below-given instructions to set your printer up on your wireless network:
- First, click on “Start Setup” once the home screen starts.
- Now, the software will check for all the drivers looking for an update, it will start downloading automatically if it needs to be updated and wait for a couple of minutes.
- Accept the terms and conditions, it is mandatory.
- Click on NEXT to allow all “Install Wizard Process”
- Select the Wi-Fi connection and connect to any network of choice.
- Check your printer is connected or not if it is the Click on NEXT.
- The setup guide will come on screen and follow it.
- Let the setup discover the printer.
- Set completed. Click NEXT.
- Now Exit, your work is done.
Final Words: This was our blog on canon Pixma mg3600 setup, Canon MG3600 troubleshooting and Canon MG3600 not printing, we equipped you with steps to troubleshoot.
How to Connect Canon MG3620 Printer to WiFi?
Setting a printer properly with any device is very important in order to avail all its features and functions. Among all the Canon printer models, you may face problems while connecting Canon MG 3620 Printer to your Wi-Fi network. You can easily connect your printer from anywhere in your home or office without using the cable. Here, in this article, we have mentioned effective methods to connect Canon Pixma MG3620 to WiFi and use it wirelessly. The simple steps mentioned in this blog will definitely makes you able to set up your Canon Pixma printer on your device.
Steps for Canon Pixma MG3620 Wireless Setup
Follow the below-mentioned steps one by one in order to connect your Canon MG3620 printer wirelessly with any device:
- Firstly, turn ON your Canon printer and system.
- Then, keep pressing the WiFi button on your printer until the network lamp starting blinking.
- Click on the Black color button followed by a click on the WiFi button again.
- Check if the Wifi light is blinking or not. If it is blinking, click on the “Start settings” button located on the start screen of the printer.
- Then, select connection process among various that appears on the screen and then choose “Wireless LAN Connection” and tap Next.
- Now, a network list will appear on the next prompt Then, choose Canon Pixma 3620 printer and click ‘Next’ button to select a network with which you have to establish connection.
- From the Next Screen, enter WPS pin on Canon printer (WiFi password) and click on the connect button.
- At last, click on the NEXT option to setup wireless connection for Canon MG3620 Printer.
Canon PIXMA MG3620 Wired (USB) Setup for Windows
Here are some simple and effective methods that you can follow to connect printer and PC through the USB Cable:
- First of all, switch on the printer and then browse the official website of Canon to download the printer driver.
- Select the “Devices and Printers” option from the Control Panel.
- From the next screen which displays the printer list, click on “Add New Printer” option.
- After successfully adding your Canon printer, right-click to set it as “Default printer”.
The above steps will help you to successfully set up your Canon Pixma MG 3620 printer to a USB cable. Hence, print a sample document to check if the connection has been established.
Canon MG3620 Wireless setup On Mac
Canon Pixma MG3620 Setup – Follow the below-mentioned steps to setup Wireless MG3620 Canon Pixma printer on Mac.
- Firstly, ensue whether the router has a WPS button and also check if the network is using WPA or WPA2 security protocol.
- Now, turn on your printer and tap the WiFi button & keep pressing it till the alarm lamp starts blinking.
- Once the WiFi lamp starts blinking blue colour, go to the router & then press the WPS button.
- Here, you need to keep pressing the button for few seconds or the connection may get lost.
- If the WiFi light starts blinking, then your printer is identifying the available networks of routers.
- When the printer is searching for a wireless router, the power lamp & the WiFi light gets start blinking.
- Once the printer is successfully connected to router, the power light & the WiFi lamps become stable.
- Now, download all the required printer drivers from official Canon website and install them in your system.
- At last, when all the printer-related drivers get installed in your system, print a test page to check if your printer is ready to use.
If you want to connect your printer to device with a wired connection, then follow the below-mentioned steps:
- First of all, visit canon com/ijsetup to download the Canon printer driver for Mac.
- Next, install all the downloaded drivers by following the on-screen steps.
- After proper installation setup, navigate to the “Apple” menu and choose the “System Preferences” option.
- Now, tap the “Printer and Scanner” option and press the “+” sign to add your Canon Pixma printer.
- Select Canon Pixma 3620 printer options from the list of available printers and tap the “Add” button.
- Carefully go through on-screen instructions to complete the setup process after which can use Canon printers.
Conclusion:
In case of any help or issue, connect to experienced technical experts to fix the technical glitches. The steps mentioned in this blog will definitely help you to connect your printer without any issue.