With each and every technical product, it’s not a big deal to face some major or minor issues and the same goes with the Canon Printer. Canon Printers often report why is my canon printer not printing or why is my canon printer not printing color. Are you also encountering the same problem with your canon printer? If yes, then there is nothing to worry about as we are here to resolve all your concerns and queries related to the Canon Printer Problems in just a few clicks of the button. So, let’s get started without wasting even a single minute. Make sure that you read this post till the very end to effectively resolve your canon printer not printing black color properly!
Methods to Fix “printer is not printing correctly” Canon Printer Problem:
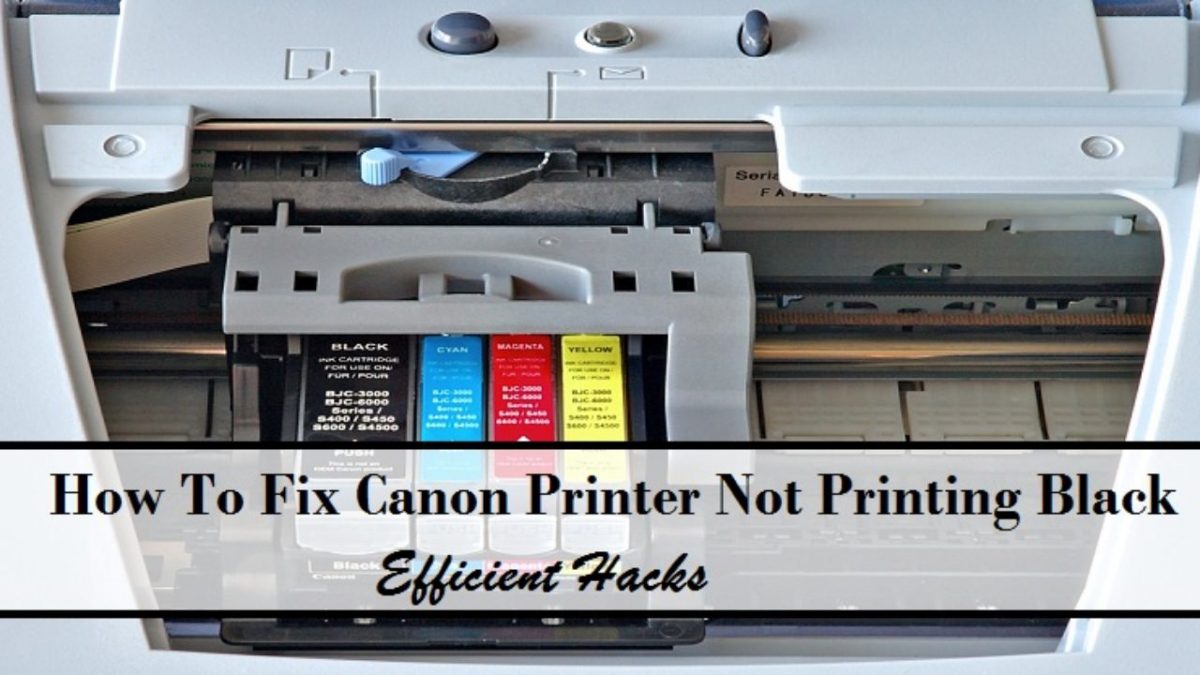
This issue “why is my canon printer not printing” can be occurring due to any of the reasons and conditions
Solution 1: Set Canon Printer as Your Default Printer on your Device
Here is the step by step guide that you need to follow till the very end to make sure that you are not left with why is my canon printer not printing the right colors issue. So, let’s start!
Step 1: Navigate to the Control Panel of your device as clearly visible in the below given image.
Step 2: Now, press the “Devices and Printers” option available on your computer screen.
Step 3: In the list of available printers, you need to ensure that you are putting Canon Printer as your default printer.
Step 4: If you find that the Canon Printer is not set there as the Default Printer, then right click on the Canon Printer option and select the “Set as Default” option to set canon printer as your default printer.
Step 5: Even after setting the Canon Printer on your device as the default printer, you need to make sure that your canon printer is marked with a Green Tick.
Solution 2: Change your Printer Status from Offline to Online
It is also possible that your canon printer won’t print color because your printer status is offline instead of online. So, let’s take a look at how you can change your printer status from offline to online!
Step 1: Type Control Panel in the windows search option.
Step 2: Navigate to the Control Panel window to check out the list.
Step 3: From the list, click on the “Devices and Printers” option.
Step 4: Locate yourPrinter type from the printer catalog appearing on your device and then right click to choose the ‘See what’s printing’ option.
Step 6: Here, you need to check that your printer is not selected with the offline option and if you find a tick sign on the offline option, then uncheck to go online.
Solution 3: Remove Printing Tasks Set in Printing Queue
There is a high chance that you are facing this issue because the printing task that you queued is stuck in between and is now creating trouble and that’s why you are facing canon printer not printing issue. So, follow the listed below steps to successfully remove the printing tasks set in the printing queue.
Step 1: Navigate to the Windows Search Option of your device and input control panel.
Step 2: Input services.msc in the field and hit the Enter button on your keyboard.
Step 3: Go to the Services window, scroll down and find the Print Spooler and click on ‘Stop’ after right clicking on it.
Step 4: Open the Run Box once the Print spooler service is stopped on your device.
Step 5: Input Spool in the field and hit the enter key.
Step 6: Open the Printer folder of your device.
Step 7: Delete or Remove all files from this folder.
Step 8: After deleting all the files, close the spool folder.
Step 9: Now, go back to service windows and right-click the print spooler program and click on the ‘Start’ option.
Step 10: Now, try to print with your canon printer to check if the issue got resolved or not.
Solution 4: Update the Printer Driver with the latest version
It is also possible that your printer is facing canon printer not printing black properly due to an outdated printer driver in your canon printer. So, we will advise you to update your printer driver with the latest version to resolve this issue and then check if the issue got resolved or not. If not, then depending on the situation, we have more solutions for you
Solution 5: Disable the Firewall Protection Temporarily on your Device
There are chances that the firewall protection on your device is acting as an obstacle to deliver printing service properly. So, you are advised to temporarily disable the firewall protection on your device. Follow the listed below steps to do so!
Step 1: Go to the Search Bar and type ‘Windows Defender Firewall’ and click the enter key.
Step 2: Click on ‘Turn Windows Defender Firewall on or off’ option to disable the firewall protection.
Step 3: On both public and private networks, disable the firewall.
Step 4: Click Ok to save the changes that you have made in Firewall.
Solution 6: Check the Status of Print Spooler
Step 1: On the Run Box Window, input the Control Panel.
Step 2: Input “services.msc” and click Enter Key.
Step 3: Scroll down to the bottom to find the printer spooler option and then click on properties option.
Step 4: From the top, click on the General Tab. Navigate to the Service Status and click Stop and then OK.
Step 5: Change the Startup type to Automatic and then click OK to save the changes.
Step 6: Click Start and then OK.
Step 7: Restart Your Printer and now check for the status of printing.
How to Download Canon Printer Driver Easy Steps
It’s one of the most used methods to download the Canon printer driver. These drivers from the official site are mostly correct if you choose the right model number. See below to start the download and installation process;
- Go to the Canon support site in your system browser.
- A search box appears at the top. Make sure you know your printer model number. Otherwise, check the top or front, or side to find the Canon model name number.
- Enter the model name in the search box. I.e., mx922. Then, click on your model below when it appears.
- The Drivers & Downloads page is next for the model you have searched.
- Select the Canon USA drivers or the Software depending on your requirement.
- Make sure your system is up to date and fulfilling the requirements. Also, choose your operating system, i.e., Windows PC.
- Navigate to the right side of the driver setup and click on the Select button. It’ll show you the different options.
- Click Download. It’ll save the file to a
- Wait for it to download the driver files. Then, go to the folder location where you saved the Canon printer driver setup and double-click on the setup.exe file.
- Click Start setup to begin the installation using this Canon Printer Installer.
- Read and accept the license agreement.
- Choose a connection mode from the shown window, then follow on-screen instructions to finish the Canon USA drivers.
Once the printer drivers are installed, connect your Canon printer to your system using the USB or wireless connection.